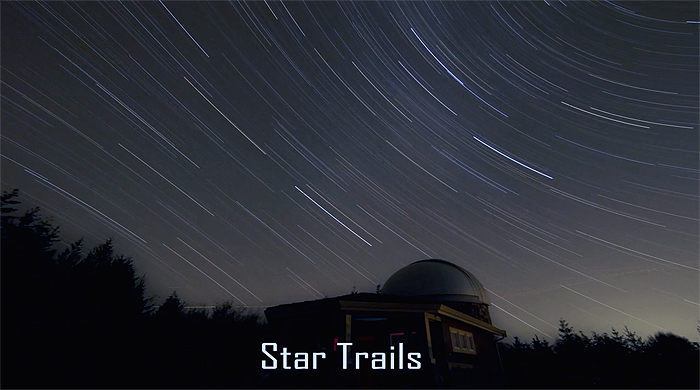
Take a photo of the night sky with a 30 second or more exposure and the stars will appear as streaks due to earth's rotation. These are known as star trails. Taking a star trails photo with long tails that seen to circle the sky is easy. Here's how:
Equipment
- A digital camera that has a bulb mode that allows the shutter to remain open for minutes.
- A wide-angle lens.
- A tripod to keep the camera steady and in place.
- A photo editing program like Photoshop or Affinity Photo that allows images to be layered and combined.
Take images
1. Set up the camera on the tripod. For polar star trails point the camera north.
2. Set the aperture to wide open (i.e. f/2.8).
3. Set the ISO to around 800 and take a single 10-minute exposure.
If it is too light or dark change the ISO setting and try again.
4. Take multiple 10-minutes exposures. The more the better.
Combine the images
How you combine the images depends on the program you are using. Here are some general steps:
1. Open the first photo.
2. Open the 2nd photo. Copy and paste it on top of the first.
You'll see that it appears in its own layer above the 1st photo in the Layers window.
3. In the Layers window, change Normal to Lighten to combine the trails.
4. Repeat steps 2-3 for each of the remaining photos.
5. To remove the effects of light pollution adjust the color balance, contrast, etc.
6. Save the combined image as a single image.
📱Smartphones users: the directions above are for a DSLR. If you don't have one but do have a smartphone with a camera, you may be able to use it to take star trail pics. There are lots of resources on the web that explain how including apps that do the combining.
 Photographing Star Trails